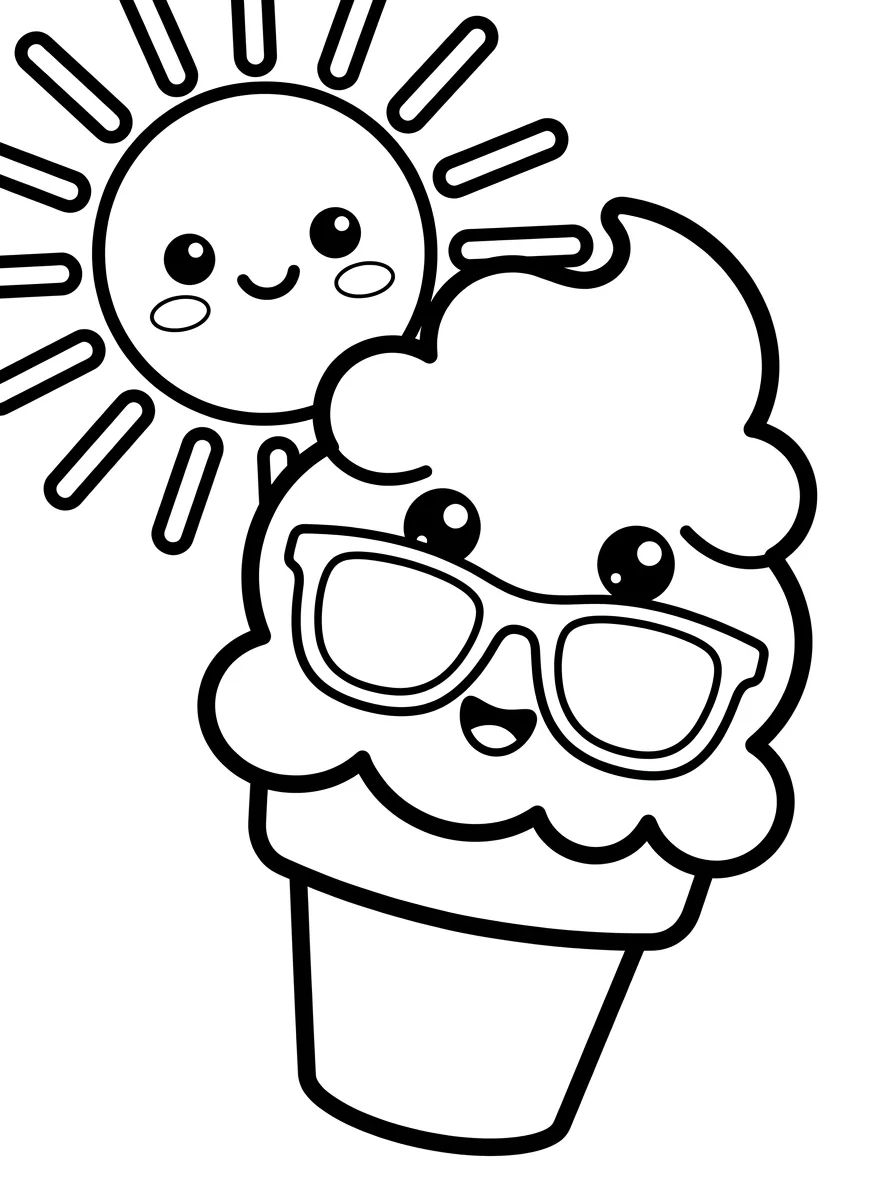
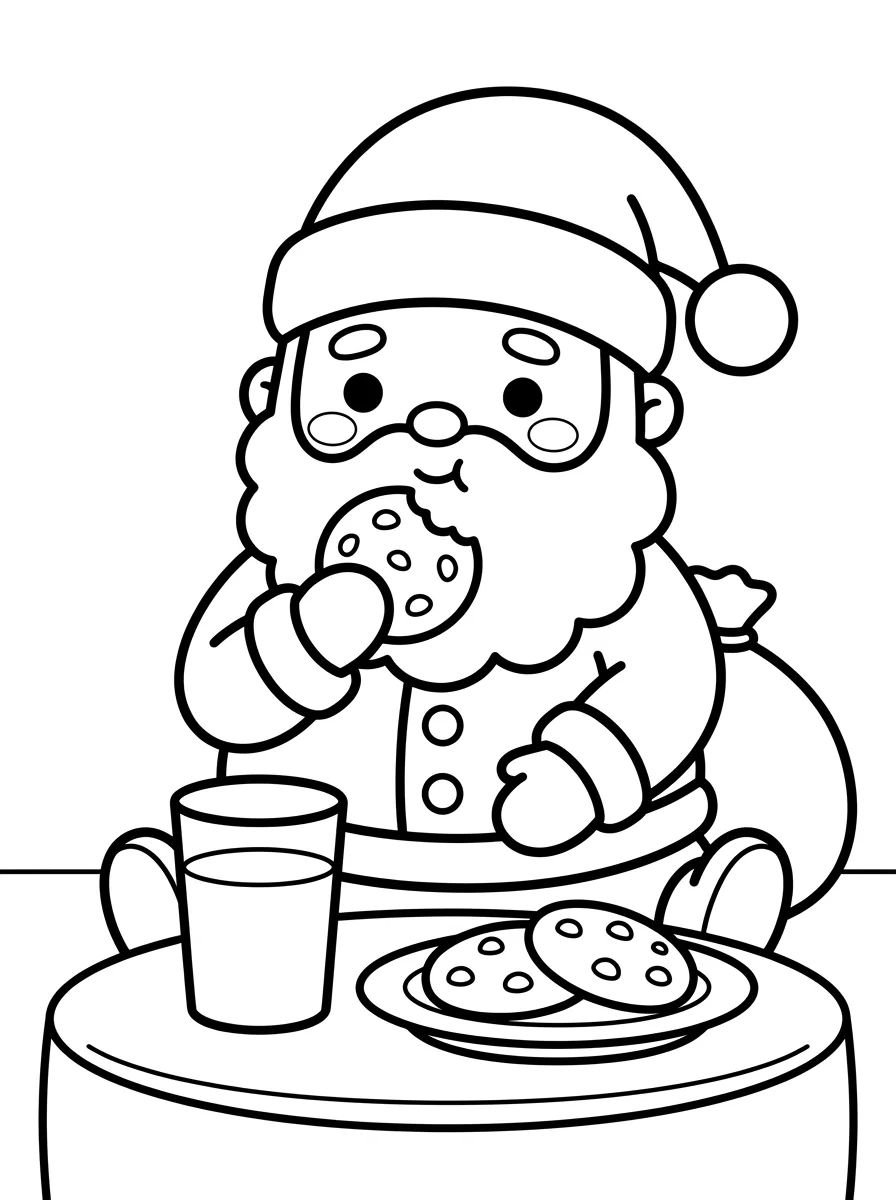
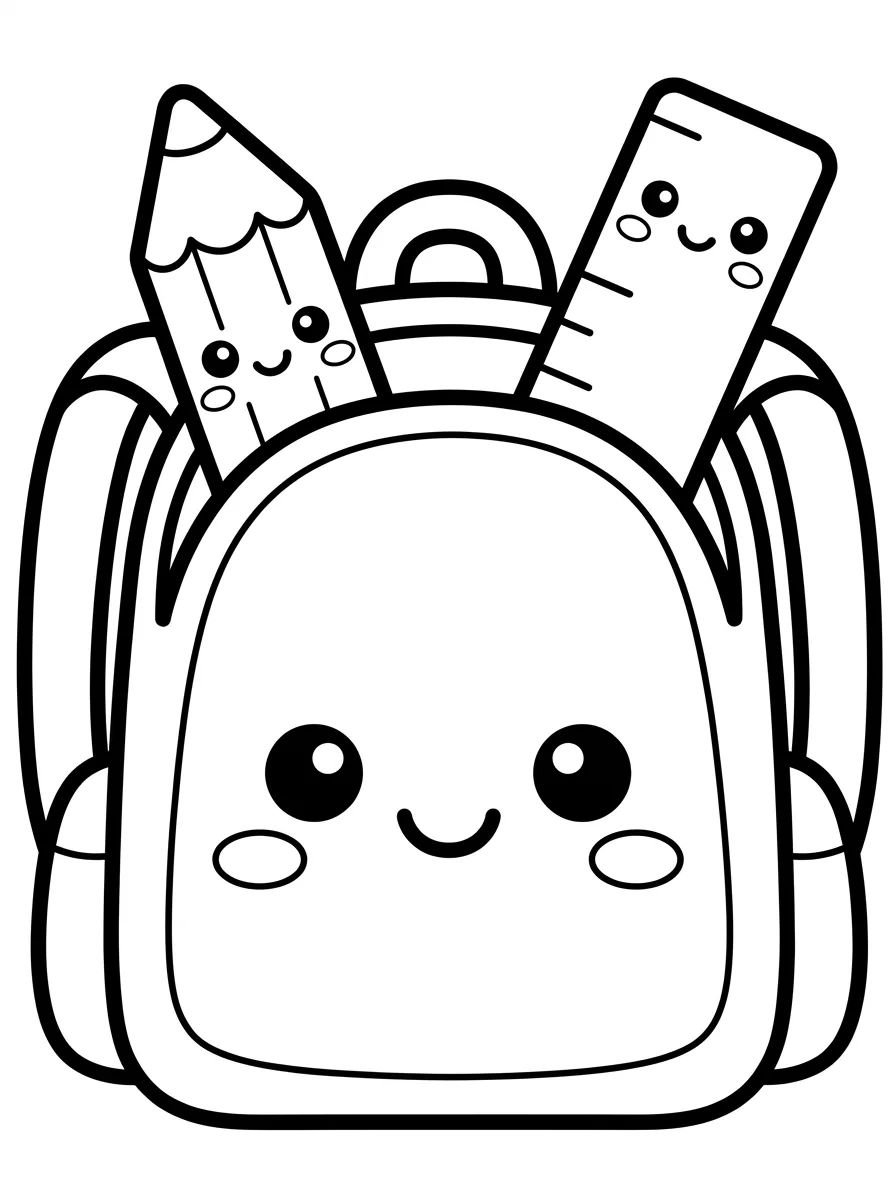
Easy Shading and Lighting Techniques for Line Art Beginners
09 de setembro de 2026
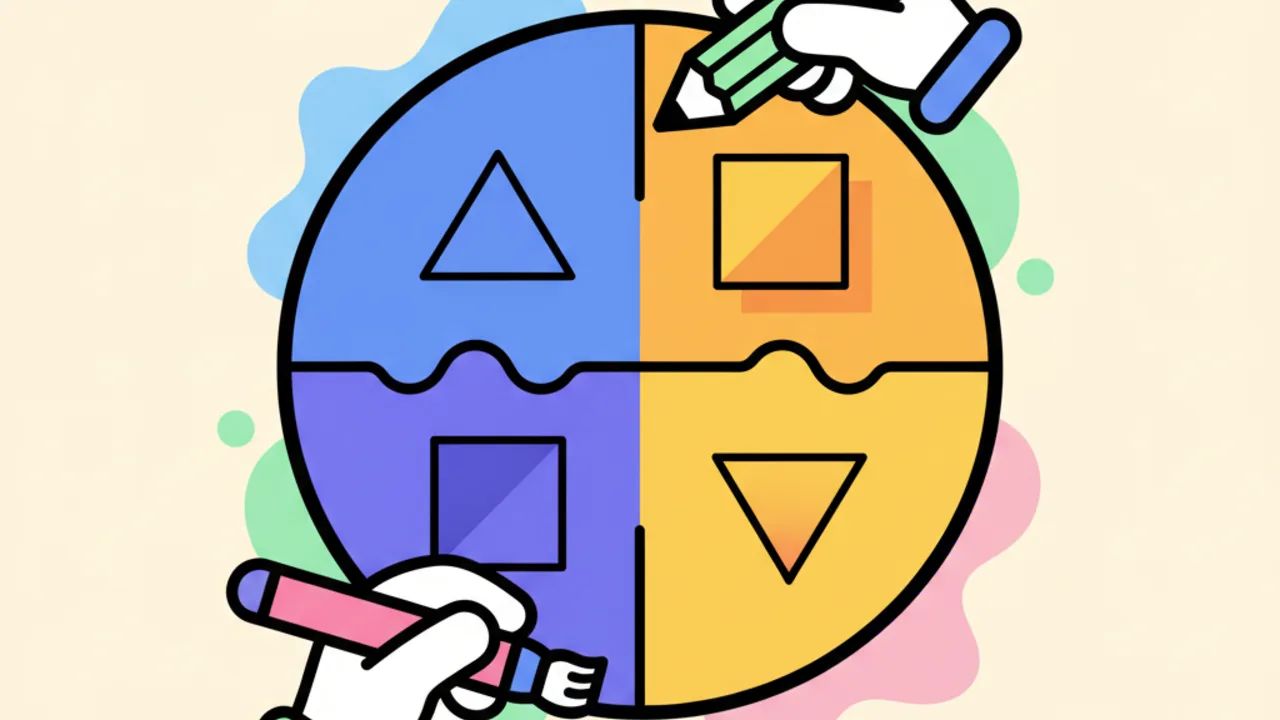
Level up your drawings with these simple shading and lighting tips! Discover practical coloring hacks for beginners at Desenhando e Colorindo! 🎨✨
Mastering free printable coloring pages goes far beyond just filling in the blanks with your favorite colors. For those starting to explore the world of kids' line art and educational drawings, understanding how light interacts with objects is the first step to turning a flat sketch into a work of art with depth and realism. This September, as we enjoy the bright days of the approaching season, it's the perfect time to sit down with your pencils and practice these skills.
The importance of the light source in drawing
Before you even touch pencil to paper, you need to decide where the light is coming from. Imagine there’s a small flashlight or the sun itself positioned in one of the corners of your free coloring sheets. This decision defines where the highlights will be and where the shadows will be cast.
When light hits an object, the side facing it receives maximum brightness, while the opposite side is plunged into darkness. When you download your coloring pages from Desenhando e Colorindo, try lightly marking a small circle with a graphite pencil to represent the sun. This will serve as your visual guide throughout the entire coloring process.
Identifying highlights
Highlights are the areas where light hits directly. In drawings of cute characters, like animals with big eyes, these spots are usually represented by small white circles. When coloring, you should leave these areas without any pigment, preserving the white of the paper to simulate intense reflection.
Creating transition shadows
A shadow isn't just a block of dark color. There is a soft transition between light and total shadow. We call this the midtone. For beginners, the tip is to use the same colored pencil but vary the pressure of your hand. Press lighter in areas near the light and gradually increase the pressure as you move away from it, creating a natural gradient on your coloring pages.
Shading techniques for beginners
There are several ways to apply shadow to your line art. Each technique produces a different visual effect and can be chosen according to the style of the drawing you printed. Here are the most common ones for those taking their first steps:
- Blending: Ideal for character skin and flower petals, using circular motions to mix colors smoothly.
- Hatching: Consists of creating parallel lines close to each other. The closer the lines, the darker the shadow.
- Cross-hatching: Lines that cross at different angles, great for creating textures on tree trunks or clothing.
- Stippling: A technique that uses small dots to create depth. Very useful in nature and landscape drawings.
Pro Tip: When coloring AI-generated drawings that have many details, prefer the blending technique to avoid visual clutter and maintain the clarity of the shapes.
How to work with cast shadows
A cast shadow is the one that the object throws onto the surface it is resting on. If you are coloring a little animal sitting on the ground, it should have a dark spot right beneath it. This helps to "anchor" the drawing to the paper, preventing it from looking like it’s floating in thin air.
To make a convincing cast shadow, use shades of gray or a darker version of the ground's color. Remember that the further away from the object, the lighter and more blurred the shadow becomes. This is one of the most relaxing coloring activities, as it allows you to play with the perception of space and volume.
Using complementary colors in shadows
Many beginners make the mistake of using only black for shadows. However, black can make the drawing look "muddy" or lifeless. An advanced but simple technique is to use complementary colors. For example, if you are coloring a red apple, try using a bit of dark green or navy blue in the shadow areas. This creates much more vibrant and professional depth.
Essential tools for light and shadow
You don't need expensive materials to start practicing on our educational drawings. The secret is in how you use what you already have at home. However, some items can make your life as a beginner artist much easier:
- Watercolor pencils: Allow you to create very smooth shadow transitions using just a damp brush.
- Blending stump (Tortillon): A roll of pressed paper that helps spread graphite or colored pencil, softening lines.
- Kneaded eraser: Great for "lifting" light in the middle of a colored area, as it absorbs pigment without damaging the paper.
- Higher weight paper: When printing from Desenhando e Colorindo, if possible, use slightly thicker paper (120g or 180g) to handle multiple color layers.
Practicing with basic geometric shapes
An excellent way to train is to print drawings containing spheres, cubes, and cylinders. Before moving on to cute drawings and complex characters, understand how light behaves on a ball. Light hits the top, creates a transition zone in the middle, and ends in a deep shadow at the base, with a small reflection of light bounced from the floor on the very edge.
Tips for online coloring with light effects
If you prefer online coloring, the techniques change a bit, but the concepts of light and shadow remain the same. Most digital tools allow the use of layers and brushes with different opacities. To create shadows digitally, you can create a new layer above the base color, select a shade of purple or dark blue, and lower the layer opacity to about 20% or 30%.
This allows the bottom color to show through, but with the darkened tone of the shadow. It's a quick and effective way to give volume to digital coloring books without needing to mix colors manually. Experiment with different blending modes, like "Multiply," for even more realistic results.
Light and shadow in nature and landscapes
As the seasons change, landscapes take on new colors. When coloring nature drawings, observe how sunlight filters through tree leaves. This creates what we call dappled or filtered light. Instead of a solid shadow, you’ll have small circles of light surrounded by dark areas.
To draw clouds, the technique is reversed: the top of the cloud is bright white, while the base is gray or bluish. Applying these tone variations makes your printable art come to life in a way that flat colors cannot.
Frequently Asked Questions
How do I know where to put the shadow in a drawing?
The first step is to define a fixed light source. Once chosen (e.g., top right corner), all shadows should be on the opposite side (bottom left corner) of each element in the drawing.
Can I use markers for light and shadow?
Yes, it's possible! For light and shadow with markers, use the layering technique (going over the same spot several times to darken it) or use different shades from the same color family, from lightest to darkest.
What is reflected light in shading?
Reflected light is the light that hits the surface the object is on and bounces back onto the dark part of the object. It's a subtle detail: even on the darkest side of a sphere, the very edge is usually slightly lighter because of this reflection.
What is the best color for shadows in skin tones?
Avoid pure black. For skin tones, use cool browns, earth tones, or even very soft shades of blue and purple to create shadows that look natural and have depth without looking gray.
Conclusion
Mastering light and shadow is a continuous process of observation and practice. By applying these simple techniques, you will notice an immediate improvement in your results, making the coloring experience even more rewarding and artistic. Remember that the most important thing is to have fun while you learn. Now that you know the secrets of depth, how about putting it all into practice? Choose your favorite themes, enjoy our free coloring pages to print at Desenhando e Colorindo, and start creating amazing works today!
Escrito e revisado por Armando Amaro
Fundador do Desenhando e Colorindo. Todo artigo passa por curadoria e revisão humana antes de ser publicado.