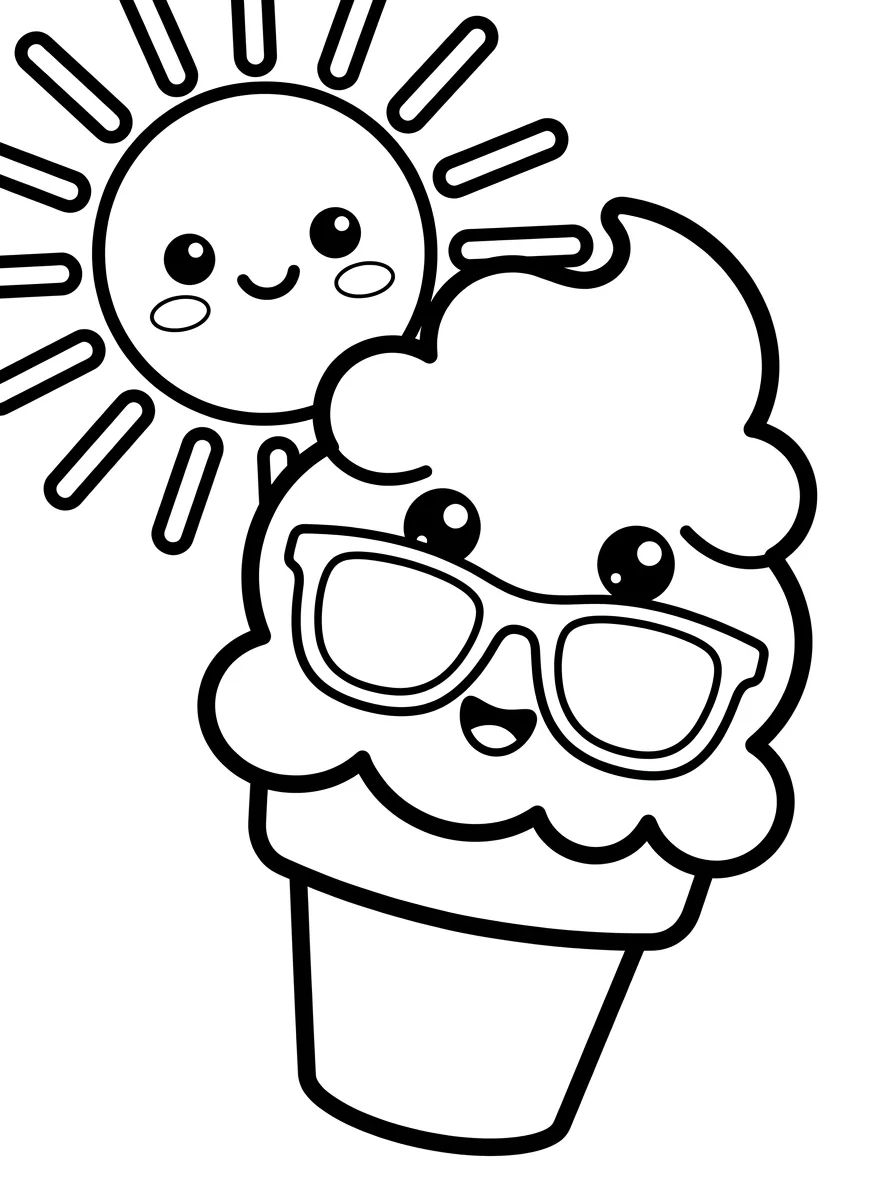
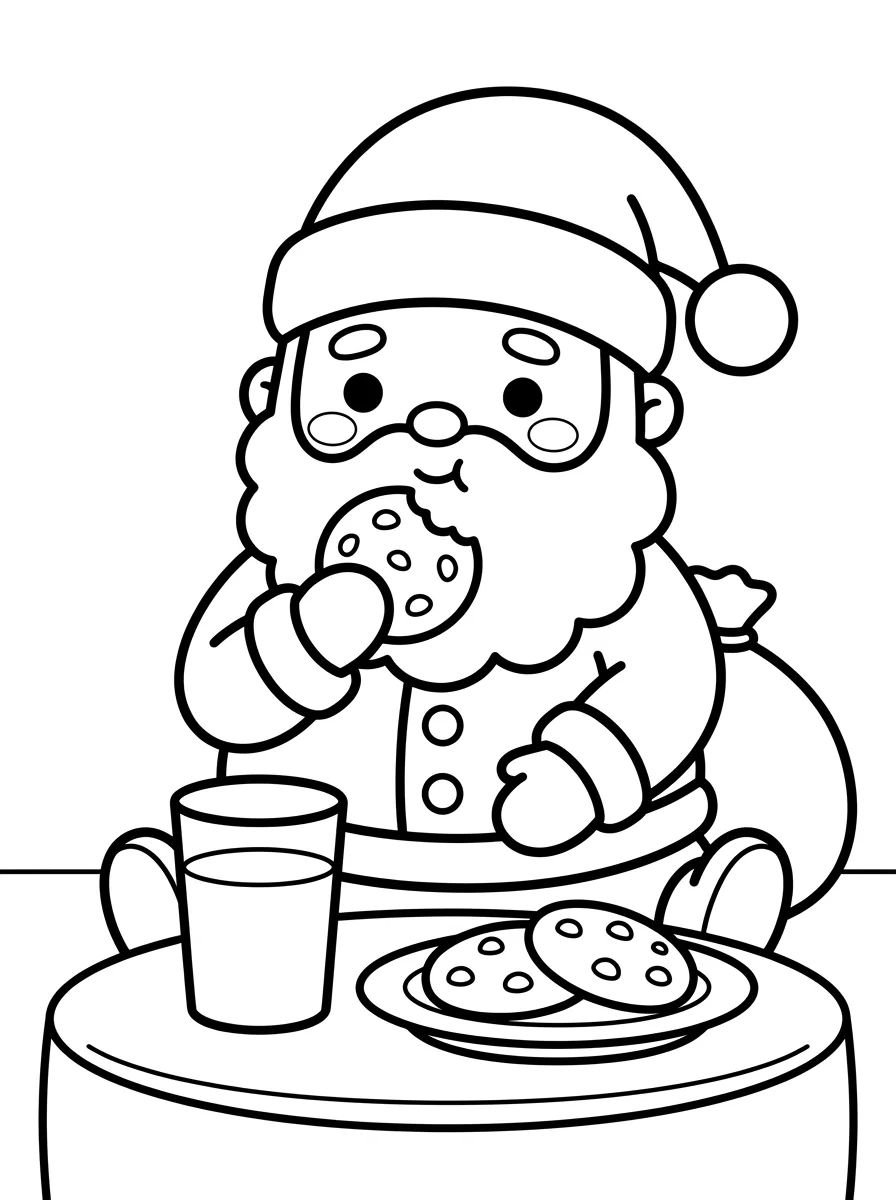
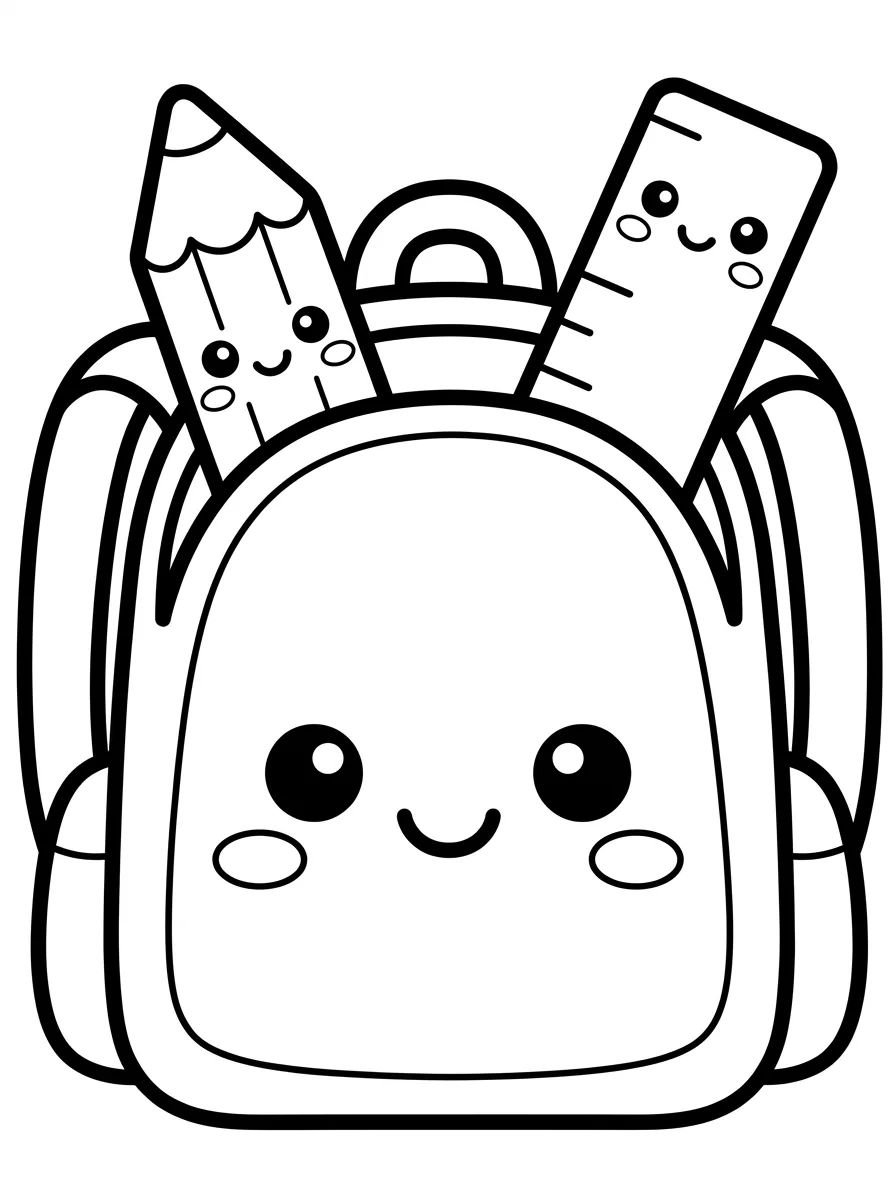
Mastering Shading and Lighting for Your Coloring Pages
26 de agosto de 2026

Discover how light and shadow can bring your coloring pages to life. Learn how to create depth, volume, and shading in your free art projects today!
Understanding Light and Shadow in Coloring Pages
Mastering the contrast between light and dark is a key step for anyone looking to level up their coloring game. When we download free printable coloring pages, we often start with simple black outlines waiting for some depth. Light is what defines shape, and understanding where it comes from is the secret to turning flat line art into a 3D image.
To start, imagine there's a lamp or the sun positioned in one of the corners of your paper. The areas closest to this light source should get lighter colors or even be left as the pure white of the paper. Meanwhile, the opposite areas, where the light doesn't reach, are where we apply the dark tones. This interplay of light and shadow is technically called chiaroscuro, a classic technique adapted for the world of digital coloring books and physical ones alike.
At Desenhando e Colorindo, we encourage both kids and adults to experiment with this perception. When coloring cute animal drawings or landscapes, try to identify which side of the character faces the imaginary "sun." This helps develop motor skills and visual perception, making the painting experience much richer and more educational.
Ideal Tools for Creating Gradients and Volume
The choice of material directly influences how easily you can create the light and dark effect. For printable art on standard printer paper, colored pencils are the favorites because they allow for layering. The more pressure you apply, the darker the tone becomes, creating the necessary transition for shading.
Besides traditional pencils, you can use:
- Graded Pencils: Excellent for kids' line art that requires precise gray tones.
- Markers: These can be used for sharp shadows in a pop art style.
- Watercolor Pencils: Great for creating smooth light and shadow transitions with a wet brush.
- Crayons: Allow for covering large areas, making them ideal for little kids to practice hand pressure.
Remember that the paper matters too. If you print your educational drawings on heavier paper (like 28lb or 32lb bond), you can apply more color layers without tearing the sheet, which makes creating deep shadows and intense highlights much easier.
Pro Tip: Always start coloring with a light hand, applying the lightest colors first. It's much easier to darken an area later than to try and lighten a spot that already has too much dark pigment.
Hatching Techniques for Kids' Line Art
Often, when downloading kids' line art, the lines are very well-defined. A cool way to work with light and dark without necessarily needing hundreds of colors is using the hatching technique. Hatching consists of small parallel or crossed lines that create the illusion of shadow.
The closer the lines are to each other, the darker the area will appear. If you space the lines out more, the area will look brighter. This technique is perfect for those who enjoy online coloring or using fine-tip black pens on printed drawings. It's a classic art form that adds a professional touch to even the simplest drawings.
How to apply hatching to cute drawings
On round characters, like a teddy bear or a piece of fruit, the hatching lines should follow the object's curve. This reinforces the idea of volume. If you draw straight lines on a round object, it will look flat. Practice this on our coloring sheets and see how your style evolves quickly this August.
The Importance of the Light Point in Online and Physical Coloring
The light point (or highlight) is the brightest area of your drawing, where the light hits directly. Keeping this area untouched—meaning, with no color—is one of the most effective ways to create realism. In the AI-generated drawings here at Desenhando e Colorindo, you'll notice the lines already suggest complex shapes that make this identification easier.
When working with light and dark, try to create at least three tones of the same color: the light tone (highlight), the mid-tone (base color), and the dark tone (shadow). This triad is the foundation of any well-done painting. If you're using blue for the sky, for example, the top could be a deep navy, fading into a cyan in the middle and almost white near the horizon.
This gradation isn't just for aesthetics; it helps children understand concepts of depth and distance. Coloring pages that explore these concepts are excellent pedagogical tools for classroom use or at-home productive leisure.
Shading with Complementary Colors
An advanced but very fun technique is not using just black for shadows. Black can make a drawing look "dirty" or dull. Instead, try using complementary colors or cooler tones for the dark areas. For example, if you're coloring a red apple, use a dark green or purple for the shaded areas.
This creates impressive visual richness in your printable coloring pages. The contrast between the warmth of the light and the coolness of the shadow makes the image pop off the paper. Check out these suggested combinations:
- Yellow: Use violet or brown for shadows.
- Green: Use dark blue or red for depth.
- Orange: Navy blue tones create vibrant shadows.
- Pink: Try a bluish-gray for less illuminated areas.
Exploring these possibilities turns the simple act of coloring into a real study of color theory. At Desenhando e Colorindo, we offer the perfect canvas with our exclusive art for you to test all these chromatic variations.
How to Create Depth in Landscapes and Sceneries
When we talk about coloring activities involving full scenes, the light and dark technique adds a new layer: atmospheric perspective. In drawings of mountains or forests, objects further away should be colored with lighter, less saturated (grayer) tones, while the foreground gets vibrant colors and intense shadows.
This happens because the air between us and the distant object scatters the light. By applying this concept to your coloring pages, you create a sense of vastness. It's an excellent exercise for older kids and adults looking to relax with a digital or printed coloring book, focusing on patience and observing nature's details.
Printing Tip: For drawings with lots of shading, check if your printer's black ink cartridge is in good shape. Sharp lines help define where the dark ends and the light begins.
Educational Benefits of Studying Light and Shadow
Working with light and shadow goes beyond aesthetics. For little ones, understanding how the sun casts shadows helps develop spatial reasoning. By offering educational drawings focused on these elements, parents and teachers stimulate scientific and artistic curiosity simultaneously.
Additionally, the focus required to make a smooth gradient or precise hatching promotes mindfulness. In such a fast-paced world, sitting down to print a free coloring page and dedicating time to light details is valuable therapy for all ages. The satisfaction of seeing a drawing come to life through volume is a great boost for creative self-esteem.
Frequently Asked Questions
How do I know where to put the shadow in a drawing?
First, decide where the light is coming from. If the light comes from the right, all shadows should be on the left side of the objects. Imagine a straight line coming from your light source to the drawing to make it easier to visualize.
Can I use black markers for shading?
Yes, but be careful. The hatching technique (little lines) is the best way to use markers for shadows. Avoid coloring solid blocks of black unless the style of the drawing calls for a very strong, graphic contrast.
What is the best paper for printing coloring pages?
For light and shadow techniques that require many pencil layers, we recommend paper heavier than 24lb (90-120gsm). Very thin paper might tear or not hold the pigment well, making it hard to get a smooth gradient effect.
How do I do light and shadow in online coloring?
In digital coloring tools, use a brush tool with low opacity or a gradient feature. Start with the base color and use a darker shade with a soft brush for the shaded edges.
Conclusion
Applying light and shadow techniques transforms any simple activity into a true work of art. Whether through hatching, pencil gradients, or the smart use of complementary colors, the important thing is to let your imagination run wild and observe the world around you to replicate light on paper. Now that you know these secrets, why not put them into practice? Browse our categories, pick your favorite free printable coloring pages here at Desenhando e Colorindo, and start creating amazing volume today!
Escrito e revisado por Armando Amaro
Fundador do Desenhando e Colorindo. Todo artigo passa por curadoria e revisão humana antes de ser publicado.