Easy Watercolor Techniques for Coloring Page Beginners
15 de setembro de 2026
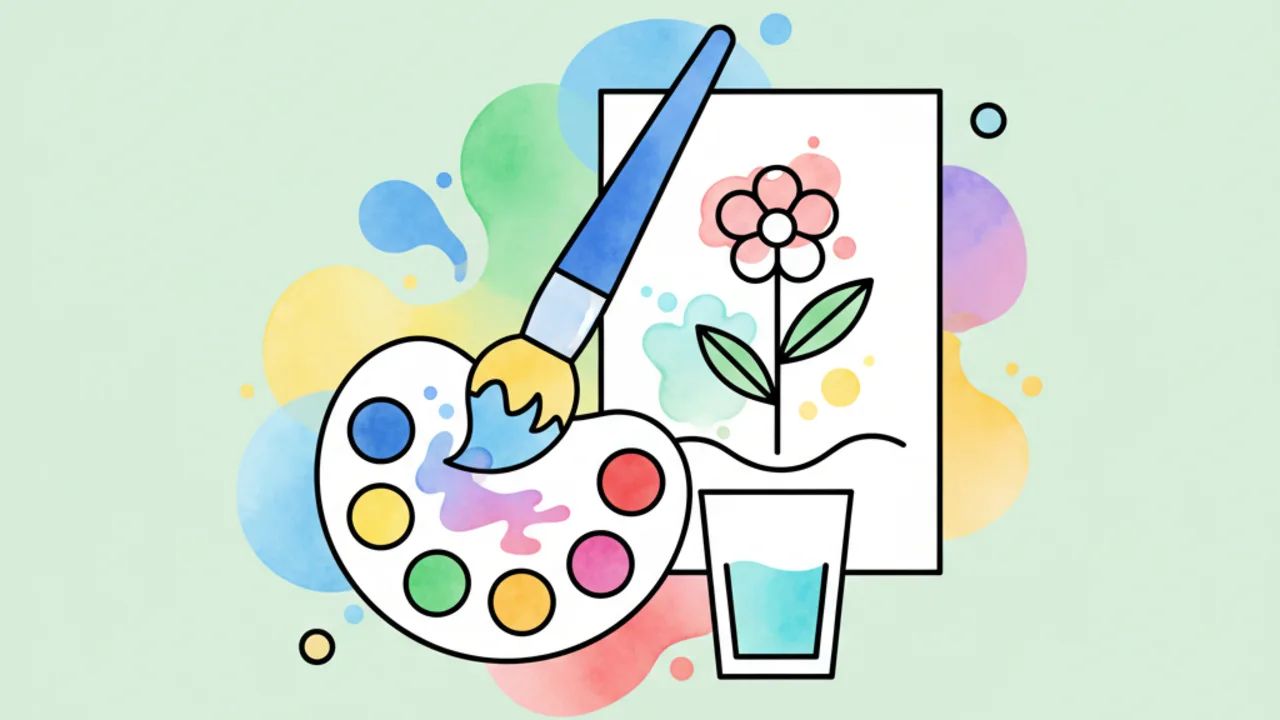
Learn simple watercolor techniques to paint your favorite printable coloring pages. Perfect tips for beginners at Drawing and Coloring! 🎨✨
Why use watercolors on your printable coloring pages?
Painting with watercolors is one of the most rewarding ways to bring life to the free printable coloring pages you find here at Desenhando e Colorindo. Unlike traditional colored pencils, watercolor offers a unique fluidity, allowing you to create smooth gradients and color blends that transform simple kids' line art into a true masterpiece.
As the weather warms up, getting cozy with your paints becomes the perfect relaxing indoor activity. The transparency of water-based paint pairs perfectly with cute drawings of flowers, animals, and landscapes, providing a professional finish even for those just taking their first steps in coloring activities.
Furthermore, using watercolors boosts patience and fine motor skills. Since the technique relies on water control, you learn to observe the paper's drying time, making the coloring process much more mindful and therapeutic. If you're tired of the flat look of markers, watercolor is the ideal next step to level up your technique.
Preparing the ideal paper for coloring pages
A common beginner mistake is trying to use watercolor on standard 20lb (75g) printer paper. Because the technique involves a lot of water, thin paper will end up warping or tearing. To get the best results with our printable coloring drawings, we recommend using paper with a minimum weight of 65lb (180g) or, preferably, 140lb (300g) watercolor paper.
Many home printers can handle thicker cardstock or specific watercolor paper cut to A4 or Letter size. When printing your coloring page, be sure to use a laser printer if possible, as inkjet ink may bleed or smudge when it comes into contact with the water from your paint.
Pro tip: If you only have an inkjet printer, wait at least 24 hours for the ink to dry completely before you start painting, or apply a light coat of matte fixative spray over the drawing.
Basic materials to get started
- Soft-bristle brushes: Have at least one medium round brush and a fine one for details.
- Watercolor pans or tubes: Good quality student sets are perfect for starting your practice.
- Water jars: Use two jars — one for rinsing your brush and another with clean water to dilute the paint.
- Paper towels: Essential for controlling brush moisture and blotting out small mistakes.
Wet on Wet Technique
The "wet on wet" technique is the essence of watercolor and works wonderfully on educational drawings that have large background areas, like the sky or the sea. To apply it, first brush a layer of clean water over the area of the drawing you want to paint, without soaking it too much.
While the paper is still damp, touch the tip of your paint-loaded brush to the surface. You'll see the color spread in a magical, organic way. This technique is perfect for creating nebula effects or soft meadows in your free drawings. The secret is to let the water do the work for you, avoiding over-scrubbing the paper to keep the fibers intact.
When using this technique on online coloring pages you’ve printed, remember to work in sections. If you wet the whole drawing at once, you’ll lose control of the edges. Paint one flower petal or one part of the character at a time, waiting for the neighboring area to dry so the colors don't bleed where you don't want them to.
Wet on Dry Technique
For those seeking precision and more intense colors in their printable arts, the "wet on dry" technique is the best choice. Here, you apply diluted paint directly onto dry paper. This ensures the paint stays exactly where you put it, making it ideal for tiny details and sharp outlines in kids' line art.
This technique allows for layering (glazing). You can paint a light first layer, wait for it to dry completely, and then go over it with a second layer to darken shadows or add textures. This is how you achieve depth in cute characters, giving volume to cheeks, clothes, and accessories.
Controlling transparency
Unlike gouache or acrylic paint, watercolor doesn't use white to lighten colors. The "white" of the painting is the paper itself. The more water you add to the mix on your palette, the lighter and more transparent the color will be. Practice creating a tonal scale of a single color, going from the darkest shade (almost pure) to the palest tint (lots of water), before applying it to your printed digital coloring book.
How to create perfect gradients in your drawings
A gradient is a smooth transition between two colors or between a color and white. In printable coloring pages, this technique adds an incredible level of sophistication. For a simple gradient, start by applying intense color at the top of an area and, with a brush just dampened with clean water, "pull" that color down, softening the edge until it fades into the white of the paper.
For a two-color gradient (for example, blue to pink in a sunset), apply the first color at one end and the second at the other, leaving a dry space between them. With quick strokes, bring one color to meet the other while they are still wet, allowing them to fuse in the center naturally.
Special effects with salt and sponges
You can add amazing textures to your coloring activities using items you already have at home. Table salt, when sprinkled over very wet paint, absorbs the pigment and creates tiny spots that look like stars or snowflakes. It’s a perfect effect for backgrounds of AI-generated drawings with space or winter themes.
A kitchen sponge can be used to create tree foliage or rock textures. Just dip the sponge in paint and lightly press it onto the drawing. These fun techniques make the process of painting our free drawings a constant experiment for kids and adults alike.
Tips to avoid smudges and common mistakes
One of the biggest challenges for beginners is patience. Watercolor takes time. If you paint an area touching another that is still wet, the colors will bleed into each other. If that's not your goal, use a hair dryer on the cool setting to speed up the process between layers of your coloring pages.
Another mistake is trying to fix an error by scrubbing the paper hard. If a drop of paint falls where it shouldn't, quickly grab a dry paper towel and lightly dab it to "sip up" the excess. Most of the time, the stain will disappear almost completely without damaging your line art.
Frequently Asked Questions
Can I use watercolor on any coloring drawing?
Yes, as long as you print the drawing on paper with a weight higher than 65lb (180g). Standard copy paper can't handle the water and will warp, making it difficult to control the paint.
What is the difference between watercolor pans and tubes?
Pans are more portable and great for beginners. Tubes offer more vibrant colors and are easier to mix in large quantities, which is excellent for filling backgrounds in drawings to print.
How do I know if the paint is too diluted?
It's best to test the color on a separate scrap of paper before applying it to the final drawing. Remember that watercolor always dries a shade lighter than when it is wet.
Do I need expensive brushes to start?
No. For coloring for kids and beginners, good quality synthetic student brushes are plenty. The important thing is that they can hold a fine point when wet.
Conclusion
Mastering watercolor on your printable coloring pages is a journey of discovery and relaxation. With these simple techniques, you can turn any coloring page from Desenhando e Colorindo into a unique piece of decor. Now that you know the secrets of gradients and paper prep, pick your favorite free drawings from our gallery, get your brushes ready, and start creating today! Don't forget to share your art with us and keep exploring our site for new daily inspiration.
Escrito e revisado por Armando Amaro
Fundador do Desenhando e Colorindo. Todo artigo passa por curadoria e revisão humana antes de ser publicado.