How to Draw Trees Step-by-Step: Coloring Activities
22 de outubro de 2026
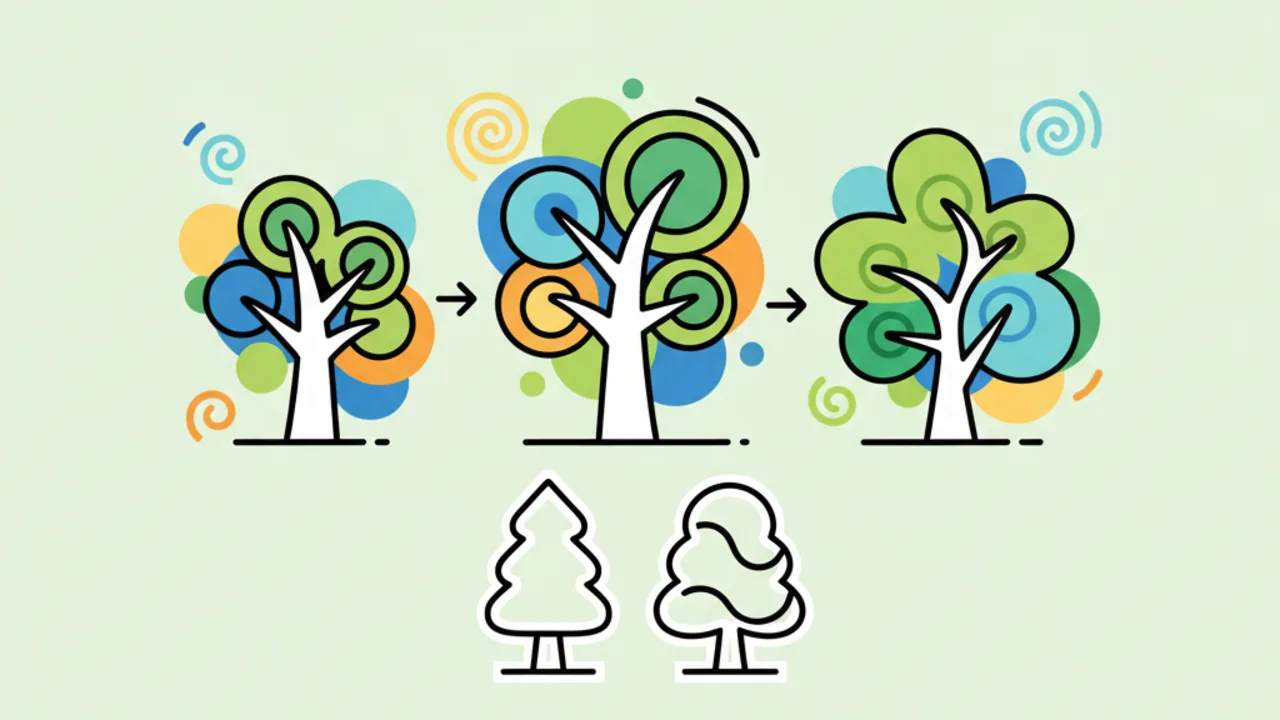
Learn how to draw trees step-by-step with this easy guide. Plus, download our free printable coloring pages and let your creativity grow!
Tree Sketching Fundamentals: Starting with the Trunk
To learn how to draw trees realistically or in a stylized way, the first step is understanding the plant's basic structure. Think of a tree as a central column that supports itself on the ground. When starting your coloring page, begin by drawing two vertical lines that flare out slightly at the base, where the roots meet the earth. This is the foundation for any kids' line art or professional sketch.
When creating the trunk, avoid using rulers. Trees in nature have irregularities, textures, and gentle curves. This imperfection is what gives educational drawings their charm. If you're drawing an oak, the trunk should be robust and wide; if it's a pine, the line should be straighter and taper toward the top.
Drawing Tip: To add volume to the trunk, make small vertical curved strokes to simulate bark. This creates an excellent texture for those who love detailed coloring activities.
After defining the main body, think about depth. Drawing trees isn't just about making lines; it's about understanding they occupy 3D space. Practice sketching lightly with a graphite pencil before going over it with a permanent pen to create your own custom coloring page at home.
The Anatomy of Branches and Natural Branching
Branching is where many beginners get lost when looking for free printable coloring pages. The golden rule is the "Y" split. Each main branch divides into two smaller ones, which divide into four, and so on. The further from the trunk, the thinner the branches should be.
When creating your free drawings for kids, make sure the branches don't cross in a confusing way. They should grow up and out, reaching for the sunlight. Depending on the season, you can draw branches full of new buds or small twigs suggesting nature's rebirth.
Tips for Realistic Branches:
- Keep the base of the branch thicker than the tip.
- Vary the angles to prevent the drawing from looking artificial.
- Leave empty spaces between branches to add leaves later.
- Use broken lines to represent dry branches or winter trees.
Drawing the Canopy: Leaf Mass Techniques
Don't try to draw every single leaf unless it's a highly complex digital coloring book. For beginners and kids, it's best to work with "leaf masses." Think of the tree canopy as several clouds connected to the branches. This makes it much easier when using colored pencils to create interesting gradients.
Use soft circular motions to define the canopy's outline. If you want cute drawings, use large, rounded curves. For more detailed trees, use small "v" or "u" shaped scribbles to suggest dense foliage. This coloring for kids technique helps develop fine motor skills.
Remember that light usually comes from above. When preparing your art for Desenhando e Colorindo, keep the top of the canopy lighter and the bottom part with thicker strokes to indicate shadow. This creates an incredible visual effect when the drawing is finally colored with shades of green, yellow, or orange.
Personalizing Your Tree: Common Types to Color
There are thousands of species, and each offers a different challenge for those looking for printable art. Let's explore three popular types that look great in any school or home coloring activity album.
The Pine Tree is a favorite for mountain scenes. Its structure is triangular, and the leaves are needles, represented by quick, straight strokes. Meanwhile, the Weeping Willow requires long, flowing lines that droop toward the ground, creating a melancholic and artistic look—perfect for those who enjoy online coloring with digital brush tools.
Fig or Oak trees have wide canopies and twisted trunks. They are great for practicing wood textures. By offering these AI-generated drawings or hand-drawn sketches to your students, you encourage observation of local botany while they have fun with colors.
How to Add Details and Scenery to Your Drawing
A tree alone is beautiful, but within a scene, it comes to life. To turn your sketch into a professional coloring page, add surrounding elements. A simple grass patch at the base, some rocks, or even a small bird's nest in one of the branches makes all the difference.
Consider the weather and the season. You can add falling flowers or small fruits. If the goal is to create an educational printable coloring sheet, add roots showing in the soil to show how the tree feeds. These details enrich the child's experience and make kids' line art much more engaging.
Printing Tip: When printing your drawings from Desenhando e Colorindo, prefer 24lb paper (90g) or higher if using markers, to prevent ink from bleeding through and ruining the table.
Painting Techniques and Colors for Trees
After mastering how to draw trees, it's time to think about color. Don't limit yourself to just brown and green. Real trees have shades of gray, ochre, bluish shadows, and even violet. For a digital coloring book, you can use layers to create depth.
Start by painting the darkest areas first. On the trunk, use a dark brown on the sides and a lighter tone in the center. On the leaves, mix different shades of green—from lime green to moss green. This prevents the coloring drawing from looking flat and lifeless. If using gouache or watercolor, let the paint dry between layers so you don't smudge the line art outlines.
- Use a yellow colored pencil to highlight where the sun hits the leaves.
- Purple and dark blue tones work well for deep shadows between branches.
- For birch trunks, leave parts of the paper white and use only gray shadows.
- Add touches of red or orange if you want to simulate autumn.
The Importance of Drawing Activities in Education
Providing educational drawings about nature helps children develop environmental awareness. By learning how to draw trees, students notice the complexity of plant life. It's a playful way to teach about photosynthesis, oxygen, and the importance of forest preservation.
Furthermore, coloring reduces stress in adults and improves concentration in children. Desenhando e Colorindo focuses on offering this material accessibly. Having access to free printable coloring pages allows parents and teachers to create a creative environment without high costs, using art as a cognitive development tool.
Frequently Asked Questions
How do I make a tree look more realistic in a drawing?
The secret to realism lies in irregularity. Avoid perfectly straight and symmetrical lines. Observe how real branches change direction abruptly and how light creates areas of intense shadow within the canopy. Adding bark textures to the trunk also elevates your coloring page.
What is the best type of paper for printing coloring pages?
For standard colored pencils, regular printer paper (20lb/75g) works fine. However, if you plan to use watercolor or heavy markers, we recommend 80lb or 110lb cardstock, which handles moisture better without warping your printable drawing.
How do I encourage children who say they can't draw?
Start with simple geometric shapes. Show them that a tree can be a triangle on top of a rectangle. As the child gains confidence, introduce more fluid kids' line art techniques. Using free drawings for tracing is also an excellent starting technique.
Can I color the drawings from the site online?
Yes! Besides the print option, many of our coloring pages can be opened in painting apps on tablets or computers, allowing you to practice online coloring with an infinite digital color palette before moving to paper.
Now that you've learned the best techniques for how to draw trees and explored our art tips, it's time to get started! Browse our categories and find hundreds of free printable coloring pages to exercise your creativity. Grab your pencils, pick your favorite tree on Desenhando e Colorindo, and start creating your masterpiece right now!
Escrito e revisado por Armando Amaro
Fundador do Desenhando e Colorindo. Todo artigo passa por curadoria e revisão humana antes de ser publicado.